
The Gutenberg Editor provides the opportunity to group re-usable block sequences and apply changes to the group which will affect everything that exists within that group. This can result in more unity and cohesion among content sections on your pages.
Let’s say we’ve built a section that we’re quite happy with. It has a header, a media & text block and some CTA buttons laid out nicely with a couple of spacer blocks. As well as potentially wanting to duplicate this layout for other sections lower down the page, we may also want apply the same styling for all content within the block. Let’s demonstrate this by adding some colour.
Grouping blocks
Firstly, we’re going to want to group all of these blocks together. There are several ways to do this. We could have added a group block first and then filled it with content from scratch. However, as we already have our blocks, let’s group them after the fact. Simply select all blocks and then use the options menu to select ‘Group’. Alternatively, we could create a new group block then drag and drop our content into the group. Whichever method we use, our blocks are now bound together as part of the same group.
Selecting our Group
Now that we have our first Group, we need to select it in order to change its settings. This can be done in a number of ways – you’ll quickly get used to which is best depending on circumstance.
- Click anywhere within the group that isn’t going to select an individual block
- Option 1 can be fiddly so you could click ‘Group’ in the path at the very bottom of your browser window.
- If you have several groups in your page and want to super specific, you could use the ‘Block Navigation’ list in the top toolbar instead.
Making changes
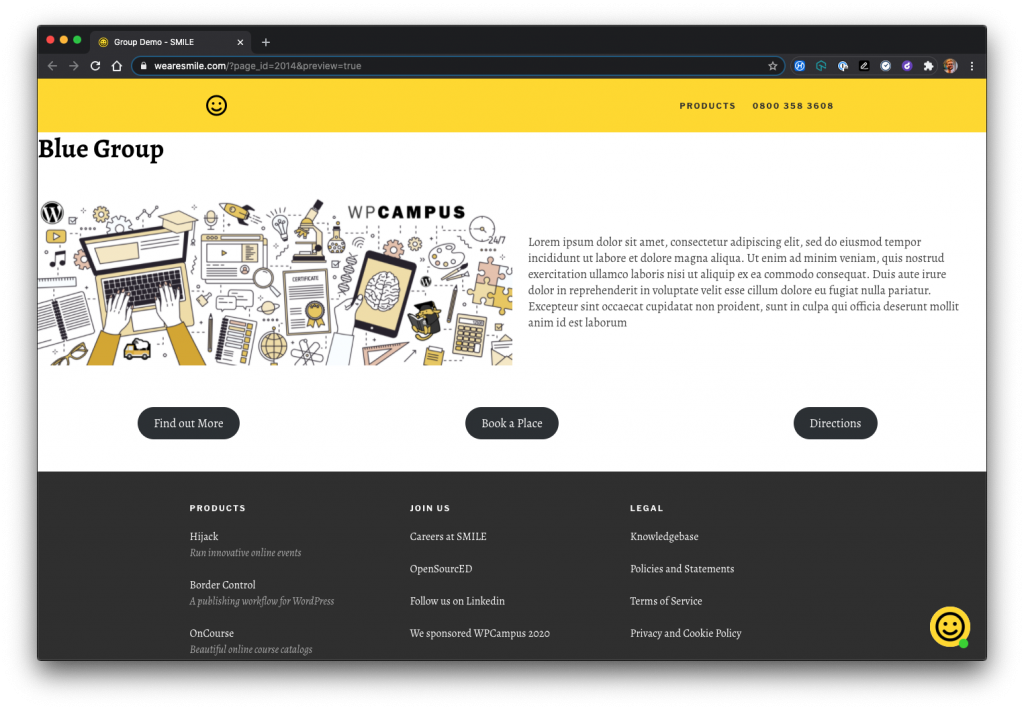
Now let’s add a background colour which will make it clear that the items within our group all belong together. Because it’s all well and good us knowing that our blocks belong together, we want our audience to see it too.
Make sure your Group is selected, then, If it isn’t open already, click the ‘Settings’ cog to open the right sidebar. We’re going to open the ‘Colour Settings’ tab and change the background colour to Blue.
Voila! Rather than laboriously changing the background of each block individually, this applies the colour to the whole group. If you change your mind about the colour, a new one can be applied with a maximum of 3 clicks. Other settings such as block spacing and padding can also be customised for entire groups.
Groups can also be duplicated very quickly. In this way, engaging layouts can be created very quickly and easily. Experiment away! And if you need any advice or have any successful layouts to share with us, please get in touch.