
When creating content for the web, the simplest way to elevate your work is to balance your text content with a variety of rich media. But there’s nothing worse than a website full of blurry or pixelated media due to image sizes that are too small for their containers.
Width/Height
The most important thing is to ensure that your image is big enough. We’re talking pixels. And we’d recommended working with images that are no smaller than 2000 pixels in width. That way you can be sure to maintain the display quality of an image, whether it be utilised as a full width featured banner or as part of a smaller search card.
Cropping and optimising
The great thing about WordPress is that, whatever the particular container size for an image, it deals magnificently with cropping. By default, it provides an automatic crop around the centre point of an image. It also provides a cropping tool as part of the editing experience, allowing you to be more specific with your choice of crop. You can read more about our thoughts on focal points and cropping on our blog.
WordPress will always retain the master version of the images, un-optimised and un-cropped, which is know as the “Full Size” variant.
Ratio
We understand that many of you are working with some pretty tight brand guidelines. This is great and generally provides a much more professional look and feel to a website. If you don’t want to crop out any part of an image, we may even have agreed to facilitate some fixed containers for your media as part of the design process. There are 2 main ways you can go about maintaining the ratio for your images.
Let’s say we’re working with a brand guideline size of 600 x 400.
- We could multiply both sides of the ratio by a simple integer until we surpass 2000 pixels in width. So let’s multiply 600 by 4. This makes 2400. Great! Now let’s do the same with 400. This makes 1600. So our acceptable image size comes out at 2400 x 1600.
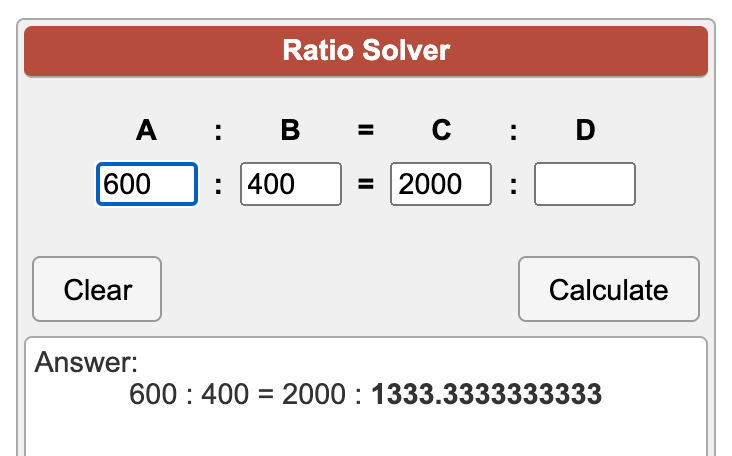
- For a slightly more complex but space-saving method, we could use a ratio calculator tool to fix the width side of the ratio at 2000 and work out the height the image would need to be to maintain the ratio. 600 x 400 = 2000 x 1333.3 There we have it! Of course, computers work in integers so it may take a bit of fiddling if we want to be precise. For example, I quickly discovered that increasing the width here to 2001 resulted in a whole number ratio of 2001 x 1334.
File Size
Most images shouldn’t need to be any bigger than 4mb in size. And to keep your website super speedy, you should always try to keep the file size as low as possible (without a noticeable drop in image quality. If your image is bigger than this it can take longer to upload, longer to crop/optimise, and in rare cases it can prevent WordPress from completing the upload process.
Colour Profile
If you’re used to working with images and graphics for print work as well as digital – some of your images may have been formatted specifically for printing. This can mean that they have a CMYK colour profile. But when uploading to your website, you should ensure that the image has an RGB colour profile instead.
File Types
There are three image file types that are commonly accepted, and have very broad compatibility. These are:
- JPG
- PNG
- GIF
Ensure that when you upload your images, they are in one of these three formats
Animated GIFs
GIFs can be an excellent way to show off short screen recordings, create motion in your layouts, or just show off some cute animals. But there are some things to consider. When you upload a GIF, WordPress will still attempt to crop and optimize the image. however, any cropped versions will not include animation. Therefore, when you use the GIF, if you require the animation, you must use the “Full Size” variant. In honesty, GIFs often have terrible file sizes, and you can achieve the same effect, with better quality, and smaller file sizes, by using an MP4 video instead.
Need help?
We hope that this article has provided some useful tips. If you need further assistance, please don’t hesitate to get in touch. If you are a HappyPress customer, you can contact us via our support form or the live chat widget on the dashboard of your site. If your project is pre-launch, please contact your account manager for more advice.